
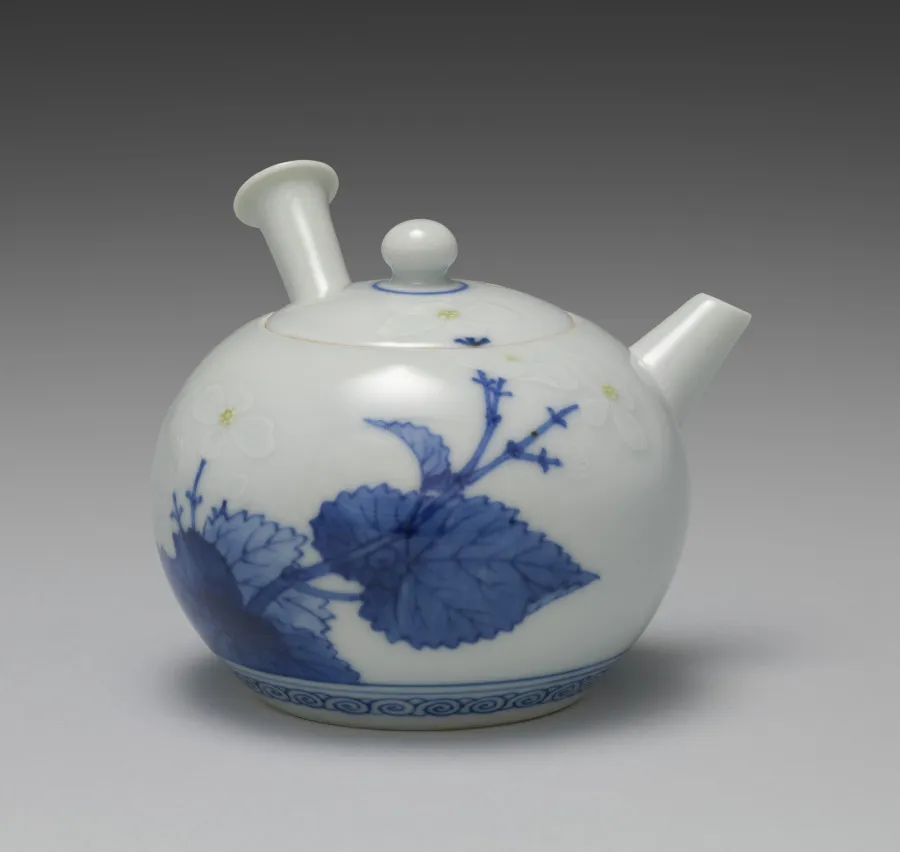
Start with an object rather than a finished listing image
Choose a clean photograph of the form you want to recreate: an original keepsake, a decorative object or a simple sculpt. Leave enough space to see its complete outline. A lifestyle photograph with ribbon, foliage, hands and background lettering can make it unclear which parts belong to the object. Remove distracting composition choices before generation and avoid asking a single photo to convey the interior of a hollow ornament. A flat printed portrait on a disc and a full three-dimensional portrait ornament are different deliverables. If the result only needs a printed picture on a flat blank, an image and print workflow may be the better fit.
Use a moderate mesh budget for the first shape review
The Balanced preset prepares the existing generator with a 200,000-face target and a 2K texture setting. Those are requests to the provider, not measured properties of an output that has not been generated. Check the actual result before promising a file specification to a customer. Review the silhouette, protruding parts and any recesses from several angles. A smooth, recognisable form is often more useful for a small hanging decoration than many tiny surface details. If a shape fails, improve the source or simplify the design before increasing the budget. Repeated generations do not automatically fix an ambiguous photograph.
Choose a total height and leave room for attachment
An 80 mm preset is a starting size, not a statement that every design is safe or comfortable to hang. Measure the available space and account for any loop, hook or base already included in the mesh. The export measures the complete Y extent, applies a uniform scale and converts Y-up geometry to a Z-up STL. If you add a loop later, the final model can become taller than the file exported here. Recheck its size after editing. The tool does not infer the original real-world dimensions from a photograph, and a decorative model should not be treated as a dimensionally accurate replacement for a functional part.
Design the loop and thin walls deliberately
The load-bearing connection matters more than a visually convincing ribbon. Inspect the mesh where the hanging point will join the body, and add an attachment in a modelling tool appropriate for the material and process. Keep enough substance around a hole and inspect sharp transitions, narrow necks and disconnected shells. No universal wall thickness is correct for every resin, filament or manufacturing service. Ask the intended maker for their constraints and inspect the file in their workflow. The converter does not drill holes, create hollow shells, add drain openings or calculate the centre of gravity. It also cannot turn a painted loop in a texture into a solid connection.
Add text as actual geometry when engraving is required
A name or date visible in a source photo may be reproduced as colour, distorted into an unreadable texture, or partially inferred as surface relief. That is not reliable engraving. Add personalised lettering in a mesh or CAD editor, check letter depth and spacing, and merge it with the intended surface. Keep an editable master so names can be changed without regenerating the object. Exporting STL removes the texture, so inspect the geometry-only view before telling a customer their inscription is included. For a printed graphic on an ornament blank, retain a separate image file and a clearly specified print area instead.
Verify the file before making a batch
Open the downloaded STL in the target slicer, confirm its millimetre dimensions and inspect layers around the attachment. Rotate and support the model for the chosen printing process. Look for missing faces and narrow features, then make one trial object before preparing a batch or publishing a product listing. Save the reviewed source, edited master and final manufacturing file as separate versions. A successful browser download proves that a file was produced; it does not establish watertightness, durability, child safety or material suitability. Describe a generated concept honestly until the actual physical sample has been checked.
Common questions
Will the tool automatically add a hanging hole?
No. It exports the geometry already present in the GLB and can set the total STL height. Create and check a real attachment point in a mesh editor before printing.
Can I use an existing model without paying for generation?
Yes. Upload a GLB you already have permission to use. Local conversion and size controls work without starting a hosted generation job or using account credits.
Why does the STL look uncoloured?
STL contains surface geometry, not the GLB material and image textures. Keep the original GLB for the textured version, and use STL when the next manufacturing step expects geometry.